 TRIDENTBIOPEPTIDES

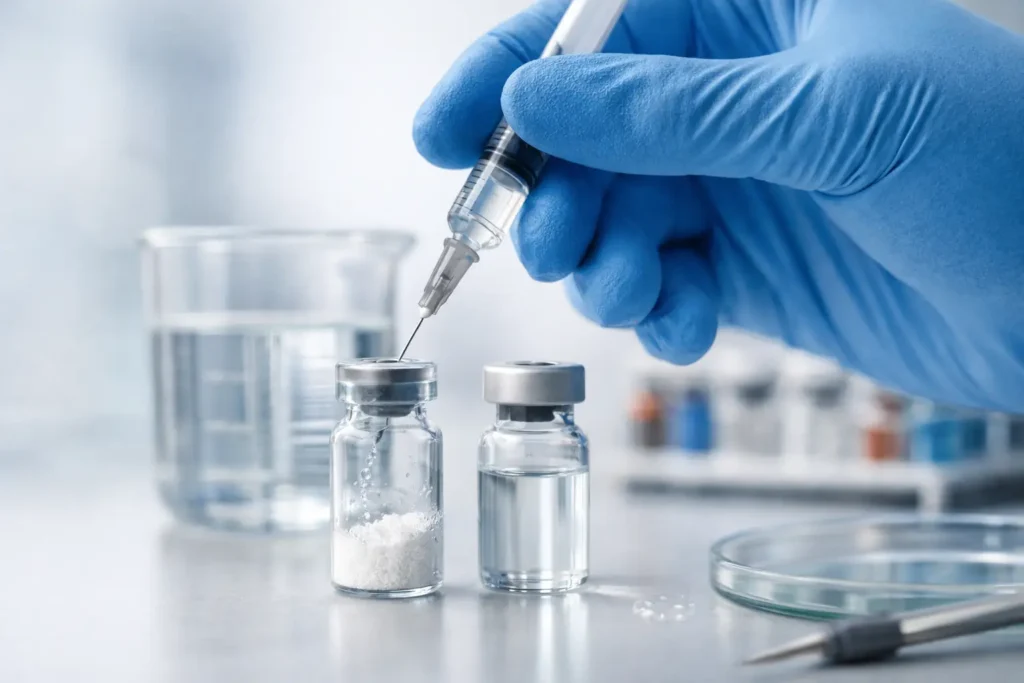
A lyophilized peptide vial is only as dependable as the preparation process that follows it. Knowing how to reconstitute research peptides correctly protects concentration accuracy, helps preserve material integrity, and gives your team a repeatable starting point for downstream research. This is not a place for assumptions: solvent choice, final volume, handling technique, and documentation all affect the quality of the working solution.
For serious research workflows, treat reconstitution as a controlled laboratory step. Start with verified materials, follow the product-specific documentation, and record each decision before the vial is returned to storage.
Start With the Product Documentation
Before opening any vial, confirm the peptide identity, fill quantity, lot number, recommended solvent, storage requirements, and any handling notes supplied for that material. Not every peptide has the same solubility profile. A solvent and volume that work well for one compound may be unsuitable for another.
The certificate of analysis and product documentation should be the primary reference. If the manufacturer specifies a diluent, concentration range, or storage condition, that guidance takes priority over a general workflow. Avoid substituting a solvent simply because it was used for a different peptide in a previous project.
Check the vial itself before preparation. The lyophilized cake or powder should appear consistent with the product’s expected presentation, and the vial, stopper, and seal should be intact. If a vial has been exposed to questionable conditions, damaged in transit, or lacks traceable identification, quarantine it rather than introducing uncertainty into the study.
Establish a Clean, Controlled Work Area
Reconstitution begins before the solvent enters the vial. Use an appropriate clean workspace and follow the aseptic practices required by your laboratory. Prepare only the materials needed for the task, including the peptide vial, verified diluent, sterile single-use syringe, appropriate needle or transfer device, alcohol wipes, labels, and a laboratory notebook or electronic record.
Allow refrigerated materials to equilibrate according to the applicable protocol before handling. Condensation on a cold vial can complicate labeling and handling. Disinfect the vial stopper with an alcohol wipe and allow it to dry fully. Do not fan it dry or touch the cleaned surface afterward.
Use new, sterile consumables for each vial. Reusing needles, syringes, or transfer devices creates avoidable contamination risk and can compromise the reliability of the solution. Precision-first research depends on controlling small variables, especially those that are easy to overlook during routine preparation.
How to Reconstitute Research Peptides Step by Step
The central objective is simple: introduce the correct volume of the correct solvent in a way that minimizes stress on the peptide and produces a known final concentration.
First, determine the target concentration required by the research protocol. The calculation is based on the amount of peptide in the vial divided by the volume of diluent added. For example, a vial containing 5 mg of material reconstituted with 2 mL of diluent produces a concentration of 2.5 mg/mL. Record both the nominal vial content and the actual volume added. Concentration should never be estimated from memory after the fact.
Next, draw the selected diluent into a sterile syringe. Confirm the volume against the calculation before proceeding. Insert the needle through the stopper and direct the solvent slowly down the inside wall of the vial rather than forcefully onto the lyophilized material. A slow addition helps reduce foaming and agitation, which may matter for sensitive peptide preparations.
Once the solvent has been added, gently rotate or swirl the vial until the material dissolves. Do not shake the vial unless the manufacturer explicitly instructs you to do so. Vigorous shaking can create foam, complicate visual inspection, and potentially place unnecessary stress on some compounds.
Allow enough time for complete dissolution. The solution should be visually consistent with the expected appearance described in the product documentation. If visible particles, haze, discoloration, or undissolved material remain beyond the expected dissolution period, do not assume the preparation is acceptable. Review the protocol, confirm solvent compatibility, and follow your laboratory’s deviation procedures.
Solvent Selection Depends on the Peptide
Sterile water, bacteriostatic water, saline-based diluents, buffered solutions, and other laboratory-grade solvents are not interchangeable by default. The appropriate choice depends on the compound, intended research application, compatibility data, and the conditions stated by the supplier or study protocol.
A common mistake is treating solvent selection as a convenience decision. It is a formulation decision. pH, ionic strength, excipients, and preservative content can influence peptide solubility and stability. If a protocol requires a particular diluent, use that diluent. If no solvent guidance is available, pause and obtain qualified technical direction rather than selecting based on anecdotal guidance.
For research materials intended for controlled experimental use, maintain clear separation between laboratory handling instructions and any non-research context. Research peptides are not interchangeable with approved therapeutic products, and reconstitution information should not be treated as dosing or administration guidance.
Label the Reconstituted Vial Immediately
A correctly prepared vial can still become unusable if its identity or concentration is unclear. Label the vial as soon as reconstitution is complete. At minimum, the label should identify the compound, lot number, solvent used, final concentration, preparation date, and preparer’s initials. Your laboratory may require additional fields, such as beyond-use date, storage location, project code, or sample identifier.
Documentation should match the vial label. Record the starting vial quantity, diluent type, exact diluent volume, calculated concentration, observations during dissolution, and any deviations from the standard procedure. This level of traceability matters when results need to be compared across runs, analysts, or lots.
For teams working through multiple compounds, standardized labels reduce preventable mix-ups. A consistent format also makes inventory checks and study handoffs faster without sacrificing control.
Store for Stability, Not Convenience
After reconstitution, storage conditions can determine whether a solution remains suitable for the planned research window. Follow the product-specific storage guidance exactly. Temperature, light exposure, freeze-thaw cycles, and time in solution may all affect stability.
Keep the vial tightly sealed and protect it from conditions identified as unsuitable in the documentation. If aliquoting is appropriate under the protocol, it may reduce repeated access to the primary vial and limit unnecessary freeze-thaw exposure. Whether aliquoting is beneficial depends on the material, container compatibility, planned use frequency, and validated storage conditions.
Do not rely on appearance alone as proof of stability. A clear solution may still have experienced degradation that is not visible. Use established stability data, defined hold times, and your laboratory’s quality procedures to decide whether a prepared solution remains acceptable for research use.
Common Errors That Undercut Repeatability
Most reconstitution problems come from process shortcuts, not complicated chemistry. The recurring issues are using an unverified solvent, adding an unrecorded volume, shaking aggressively, skipping the visual inspection, or storing the vial without a complete label. Each one weakens the chain of evidence behind the experiment.
Another frequent error is assuming all vial quantities and concentrations are identical across products or lots. Confirm the labeled amount every time. Even when the preparation method is familiar, the documentation in front of you should guide the work.
Material quality also matters before the vial reaches the bench. Sourced, purity-verified compounds, consistent formulation, secure packaging, and clear lot traceability help establish a reliable baseline. Trident Peptides is built around that standard: dependable research materials should arrive ready to support disciplined preparation, not create another variable to troubleshoot.
Build Reconstitution Into Your SOP
The best workflow is one that another qualified team member can repeat without filling in gaps. Turn the steps above into a concise standard operating procedure tailored to your facility, materials, and analytical requirements. Include approved solvents, concentration calculations, handling controls, labeling requirements, storage parameters, and escalation steps for incomplete dissolution or unexpected appearance.
Reconstitution is a small part of the overall research process, but it has an outsized effect on confidence in what follows. When the vial, solvent, calculation, handling method, and storage record all align, the resulting solution begins its research life with the consistency serious work demands.